It was quite a night with storm after storm after storm. The hail was as big as golf balls at one point. Since there were non-stop tornado warnings through the night, we slept in the back room of our basement where it was the safest. Now, outside is unbelievably calm and I hear birds chirping from everywhere. Luckily, we didn’t have much damage except the broken light fixture in the front yard and several dents in my husband’s car, but I’m afraid that more will be found soon after we do a more thorough inspection.
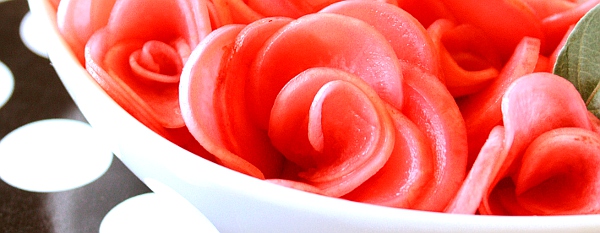
Today, I’m going to show you a super eye-catching side dish I made last year.
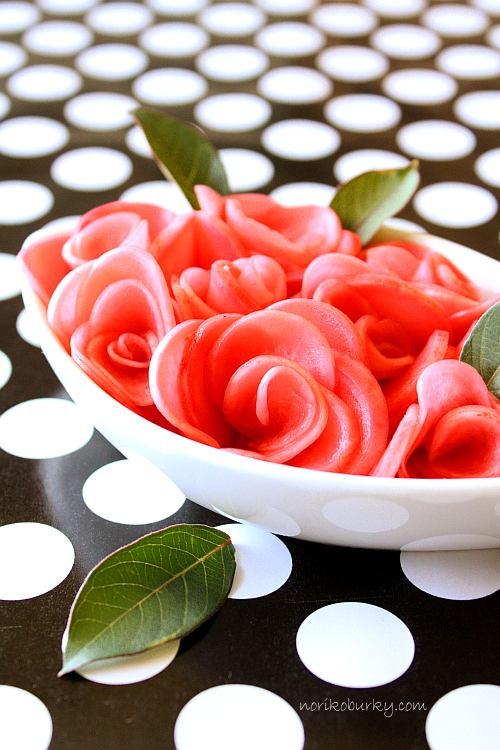
I came up with this recipe a few years ago, and because of the easiness, I have made it numerous times. Usually, I just serve the pickled radish slices in a small bowl as a side of a meal for refreshment. Its naturally pretty pink color in various shades provides a fancy element to the table. This time I challenged myself to go another mile to make these pickles more dramatic.
Pickled Radish Roses
| Pickled Radish Roses |
|
- 8-10 radishes
- 3 Tbsp vinegar
- 1 Tbsp sugar
- Slice radishes thinly.
- Put vinegar and sugar in a plastic bag. Close the top tightly, shake vigorously to dissolve sugar. Add sliced radish.
- Squeeze out as much air as possible. Refrigerate for 5-10 hours.
- (It will make a nice refreshing side dish. Just serve small portions in individual bowl as it is.)
- Take a slice and roll it up tightly. Take another slice and roll it around the first one. Keep covering it up with a slice at a time, overlapping partly, arrange them to a rose shape. Place it in a small bowl. Make as many roses as you want or until the bowl gets full.
It is easier to start with the thinnest slice to form a center of the rose. As you proceed, alternate thin slice and thicker slice randomly in order to create more realistic effect.
The thinner the slice is the shorter time it takes for pickling. Though, I find it almost impossible to cut each slice equally. On the other hand, slices that are slightly different in thickness gives a more warm handmade unique look when creating roses.
Growing up on Japanese food and flavoring, my first thought for this was that it might go well with many international cuisines. However, if you are more familiar with vegetables pickled in vinegar with herbs and spices, you might find its taste too bold. Or if you have your favorite pickling recipe, go ahead with it and enjoy the dramatic presentation that radishes offer.
The pickling process doesn’t take too long. You will see the radishes turning a soft pink in a few hours and it’s ready to eat. Although the pickling time is 5-10 hours in my recipe, I recommend to wait from 12 to 24 hours if time allows. By that time, the skin loses its color and merges with the whole pickle color just like in the picture on the top.
********************************************
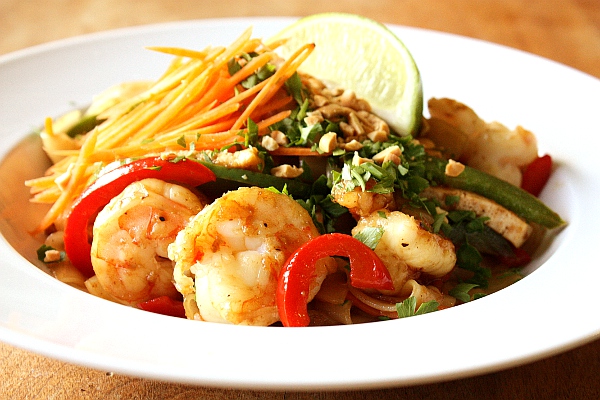
Let me share a fabulous Pad Thai recipe I found couple weeks ago and kept wanting to make for days! The recipe is made by Alice from Savory Sweet Life. She is a passionate cook, an active star blogger, and a wonderful mom. I can honestly say that her enthusiasm toward everything has given me a push when I was wondering if I should start my own blog. I’d like to send a sincere gratitude to her for this super delicious recipe.
For a long time, I didn’t doubt even a bit that peanut butter was the key ingredient in making Pad Thai sauce. Please don’t ask me where on earth I got this idea because I don’t even know. So with that firm belief, I fell in the dilemma of using what I thought was the right ingredients, but the result was always too sticky and the peanut was over powering in flavor.
Alice’s recipe which uses tamarind juice concentrate and palm sugar was truly eye opening and guided me through an adventurous journey of these new ingredients.
If you want to see her detailed recipe, click the link below!
A favorite Thai stir fry noodle dish at home: Pad Thai Recipe
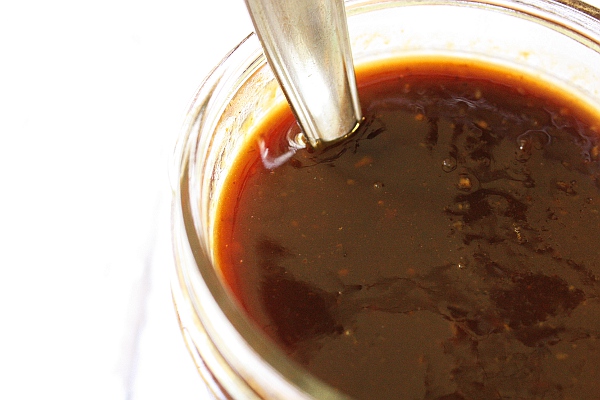
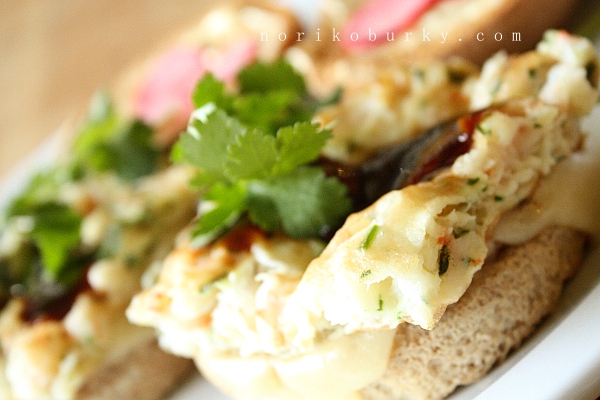
I made 1 1/2 cups of sauce and the good news is that you can refrigerate it up to a month. I have a feeling that this masterpiece sauce will turn so many foods into divine dishes. As my first try with this sauce is “No-Yolk Shrimp Omelette Sandwich” as you can see in the picture below.
First, I mixed liquid egg whites, chopped shrimp, minced cilantro, salt and white pepper.
Cook it in a frying pan then cut it to a size that fits nicely in a bun. Toast the buns, place a slice of Swiss cheese to melt, add the omelette and rub some of the Pat Thai sauce on top.
I love this kind of fusion cooking in which different cuisines from different parts of the world meet. I also put my “Picked Radish” in the sandwiches as a substitute of pickled cucumber. It was pretty to the eyes and added nice crunchiness.
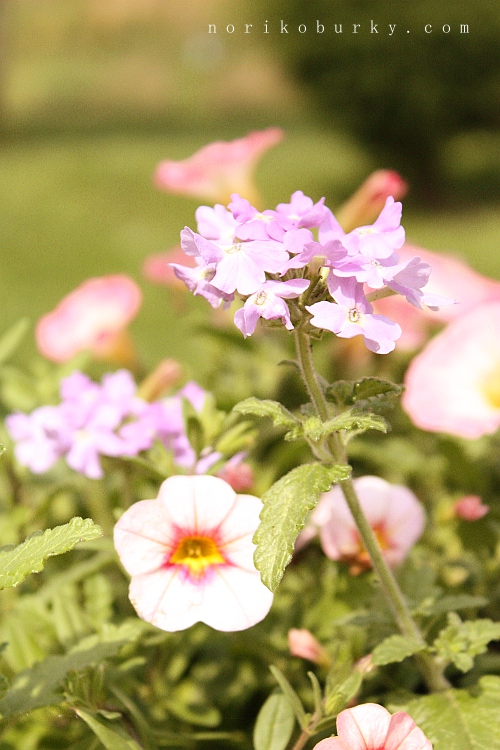
I wish I had taken these potted flowers in before the storm…
Now most of the flowers are gone and the leaves are painfully torn.
Hopefully, the roots are still healthy and will grow back soon.

